To test irrigation zones for leaks, first check the water meter with everything off to see if the mainline is leaking. Then run each zone one at a time and walk it, looking for weak heads, bubbling, geysers and wet spots. Next, check whether any zone runs or seeps when it should be off, which points to a faulty valve. Finally, compare meter readings per zone to find the one using more water than it should.
- Start with the mainline: meter moving with all zones off means a pressurized leak.
- Walk each zone while it runs, one at a time.
- A zone that drips when off has a valve problem.
- Note findings on a simple map of zones and heads.
Before You Start
Find your controller, your valve boxes, the backflow device and the water meter. If you don't have a map of your zones, sketch one as you go: which zone waters which area, and roughly where the heads are. It makes testing faster and helps a provider later.
Step 1: Test the Mainline
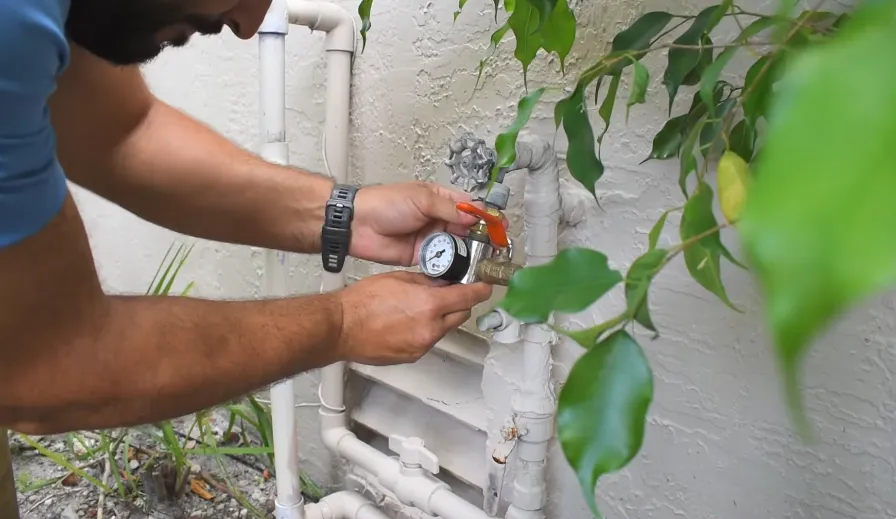
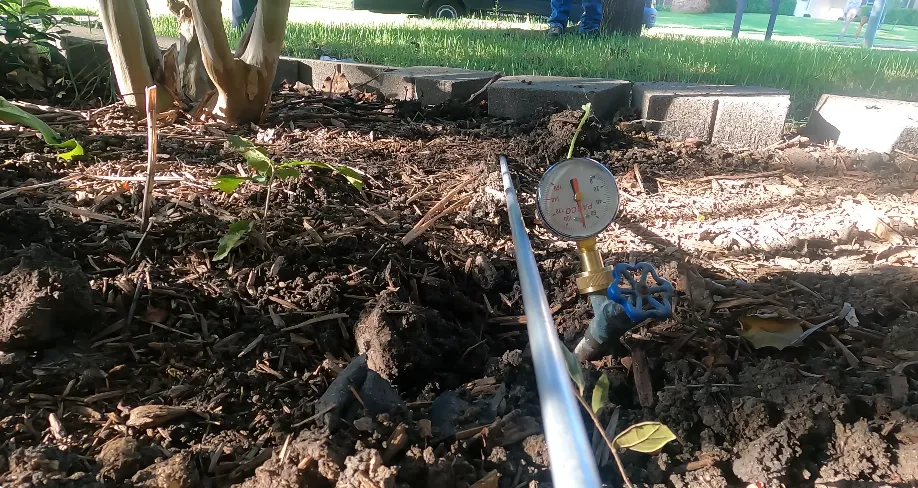
Turn the controller off and make sure no water is being used in the house. Watch the meter's leak indicator for 15 minutes; our meter test guide explains how. If it moves, close the house shut-off. If the meter still moves, the leak is on the service line or on the irrigation mainline, which stays pressurized all the time between the backflow device and the zone valves. Many systems have a shut-off valve before the backflow device; closing it isolates irrigation entirely, so a meter that stops then confirms the leak is on the irrigation side.
Step 2: Walk Each Zone
- Run one zone manually from the controller.
- Walk the zone and watch every head: does it pop up fully, rotate or spray normally, and reach its coverage area?
- Look for water bubbling from the ground, geysers, or pooling between heads.
- Note heads that are tilted, sunken, clogged or misting.
- Turn the zone off and move to the next.
A zone where every head is weak, and especially the heads farthest from the valve, often has a lateral leak.
Step 3: Check the Valves
With all zones off, look for any head that keeps seeping or a zone area that stays wet. A little drainage from the lowest head after a cycle is normal; continuous flow means a valve isn't closing, often from debris or a worn diaphragm. Open the valve boxes and look for standing water or drips around the valves themselves.
Step 4: Compare Zones With the Meter
For a more precise check, note the meter reading, run one zone for a set time, and note the reading again. Repeat for each zone. Zones of similar size and head type should use similar amounts. A zone that uses noticeably more than expected may have a hidden leak on its lateral.
Step 5: Inspect the Backflow Device
Check the backflow preventer for drips, cracks or water discharging from its relief port. Florida's rare hard freezes and sun exposure take a toll on these above-ground devices. See backflow preventer leaks.
When to Call for Pinpointing
If your tests point to a mainline or lateral leak but there's no wet spot to show where, professional irrigation leak detection can pressure test the section, trace the pipe route and listen for the leak, so only one small spot is dug. Share your zone notes and meter readings when you call. For other signs to watch for, see sprinkler system leak signs.
Frequently Asked Questions
How long should I run each zone during testing?
A few minutes is usually enough to see head performance and spot obvious leaks. For meter comparisons, use the same time for each zone.
What if the meter moves with the controller off?
Something is leaking under constant pressure: the service line, the irrigation mainline, or a valve that's letting water through.
Is seepage from the lowest head normal?
A short drain-down after a cycle is normal. Water that keeps flowing means a valve isn't sealing.
Can I fix a broken head myself?
Many homeowners replace simple heads. Leaks on buried pipe are harder to find and may need pinpointing.
Should I test after a storm?
Yes. Fallen trees and saturated, shifting soil can damage buried irrigation lines.